Historic Masonry Cleaning: Safe Methods That Preserve Heritage Buildings
The Critical Balance of Historic Masonry Cleaning
Let’s be honest about something: historic masonry cleaning is not just regular building maintenance with fancier tools. Unlike modern structures, heritage buildings carry irreplaceable value that aggressive cleaning methods can permanently destroy. Successful historic masonry cleaning prioritizes preservation over achieving that Instagram-worthy pristine appearance, because the original material integrity matters far more than looking spotless.
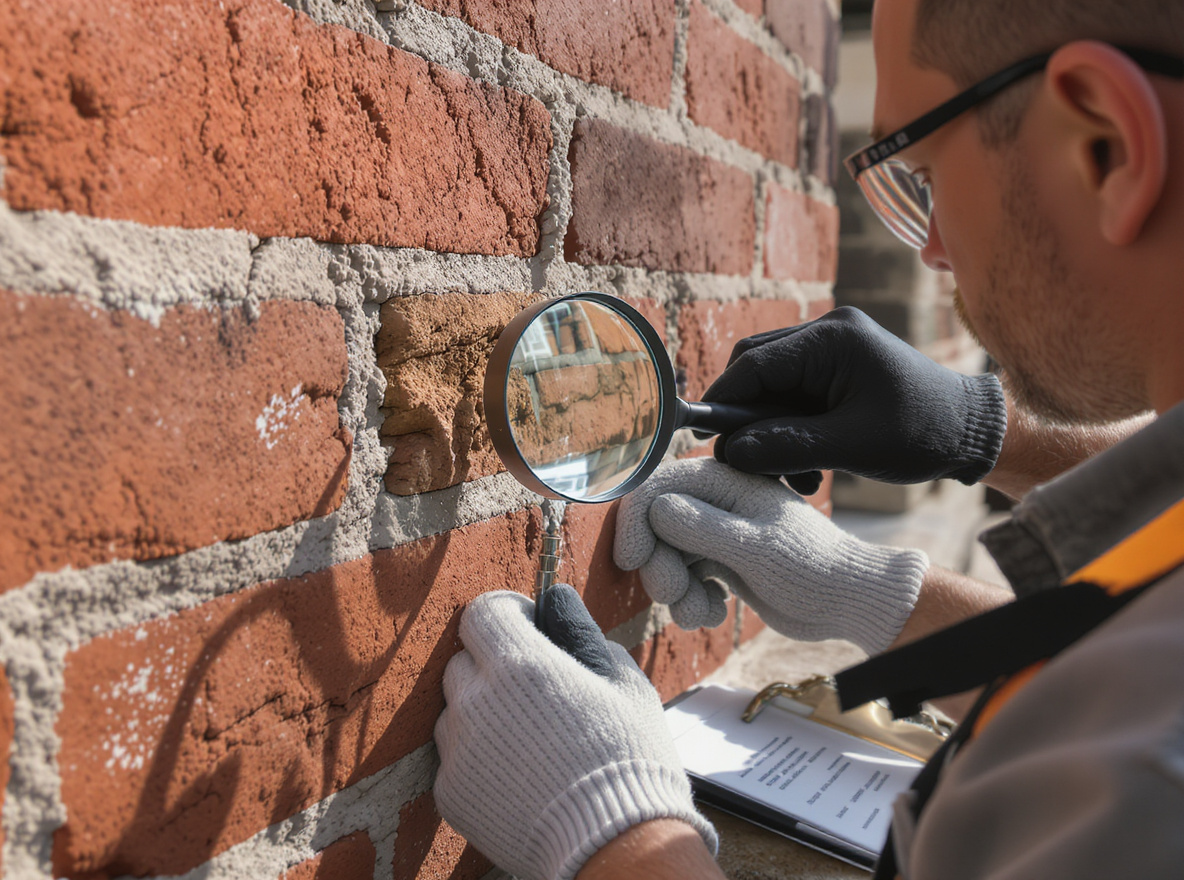
Professional heritage masonry cleaning requires specialized techniques that preserve historic character while removing harmful deposits.
Heritage structures demand specialized cleaning approaches because their materials have aged and weathered in ways that would make modern masonry weep. Historical construction techniques used lime-based mortars that are softer and more vulnerable than contemporary materials. You can think of them as the gentle souls of the construction world. Many historic buildings have also developed protective patina layers that actually shield the underlying masonry from deterioration.
The National Park Service preservation standards emphasize that cleaning should enhance rather than compromise a building’s historic character. Therefore, restoration specialists must balance aesthetic improvement with material preservation. They need to understand that over-cleaning can be more damaging than leaving surfaces untouched, a bit like over-exfoliating your face.
Common Costly Mistakes That Destroy Heritage Value
Improper cleaning techniques cause spalling, where brick faces literally pop off due to aggressive pressure or incompatible chemicals. Sandblasting and other abrasive methods permanently remove the hard-fired surface layer of historic bricks, which exposes softer interior material to accelerated weathering. In addition, using modern high-pressure equipment can drive water deep into mortar joints, causing structural damage and freeze-thaw deterioration.
These mistakes result in irreversible heritage loss, dramatically reduce property values, and require expensive remedial work. Because of this, understanding proper methodology becomes essential for anyone responsible for heritage building maintenance. Nobody wants to be the person who accidentally sandblasted away 200 years of history.
Pre-Cleaning Assessment: The Foundation of Success
Here’s where most people get it spectacularly wrong: they skip the homework phase. Most cleaning failures occur because professionals overlook thorough pre-cleaning evaluation, particularly regarding masonry condition assessment and mortar integrity. Consequently, this oversight leads to expensive damage that proper planning could have prevented.
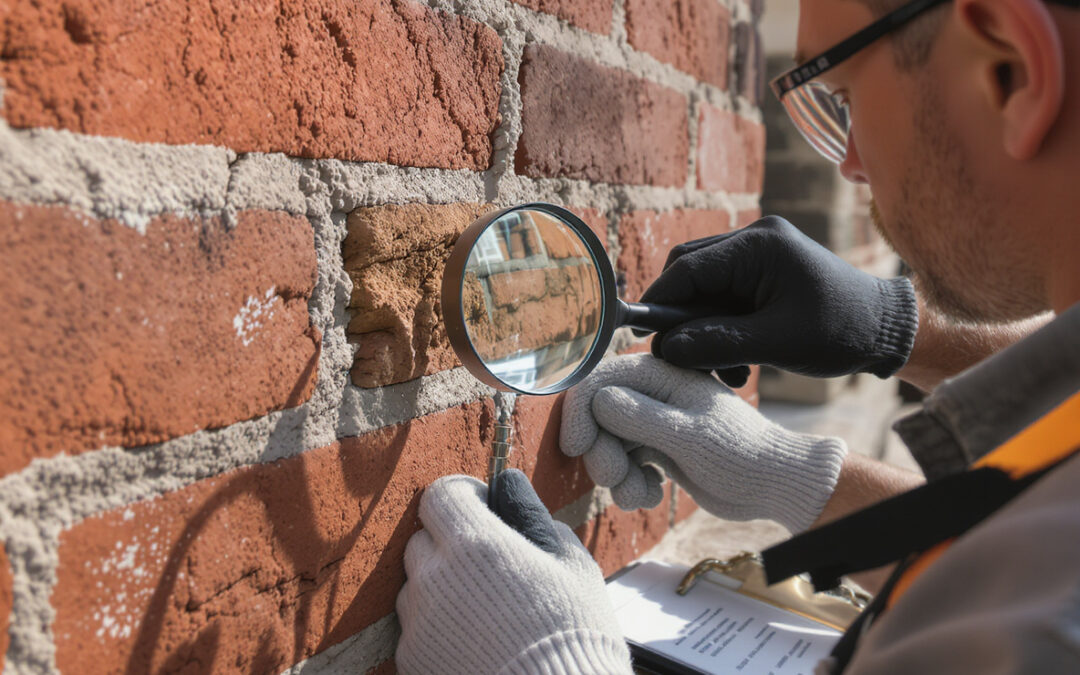
Thorough pre-cleaning assessment identifies vulnerable areas and prevents damage to irreplaceable heritage materials.
Mortar Joint Integrity Evaluation
Inspect all mortar joints for cracks, gaps, or deterioration before beginning any cleaning process.
Test mortar hardness using simple tools like coins or fingernails to identify vulnerable areas.
Document areas requiring repointing before water-based cleaning begins.
Check for previous repairs using inappropriate hard mortars that could cause spalling.
Evaluate pointing depth and consistency throughout the structure.
Identifying Harmful vs. Protective Deposits
Distinguish between beneficial natural patina and harmful pollutant deposits.
Identify biological growth that may be damaging mortar joints.
Locate paint layers that may contain lead or other hazardous materials.
Document staining patterns that indicate underlying structural problems.
Assess whether surface deposits are actively causing deterioration.
Material-Specific Vulnerability Testing
Conduct test patches in inconspicuous areas before full-scale cleaning.
Determine appropriate cleaning methods for different masonry types within the same building.
Evaluate age-related material degradation that affects cleaning tolerance.
Test chemical compatibility with various cleaning agents.
Document baseline conditions with detailed photography.
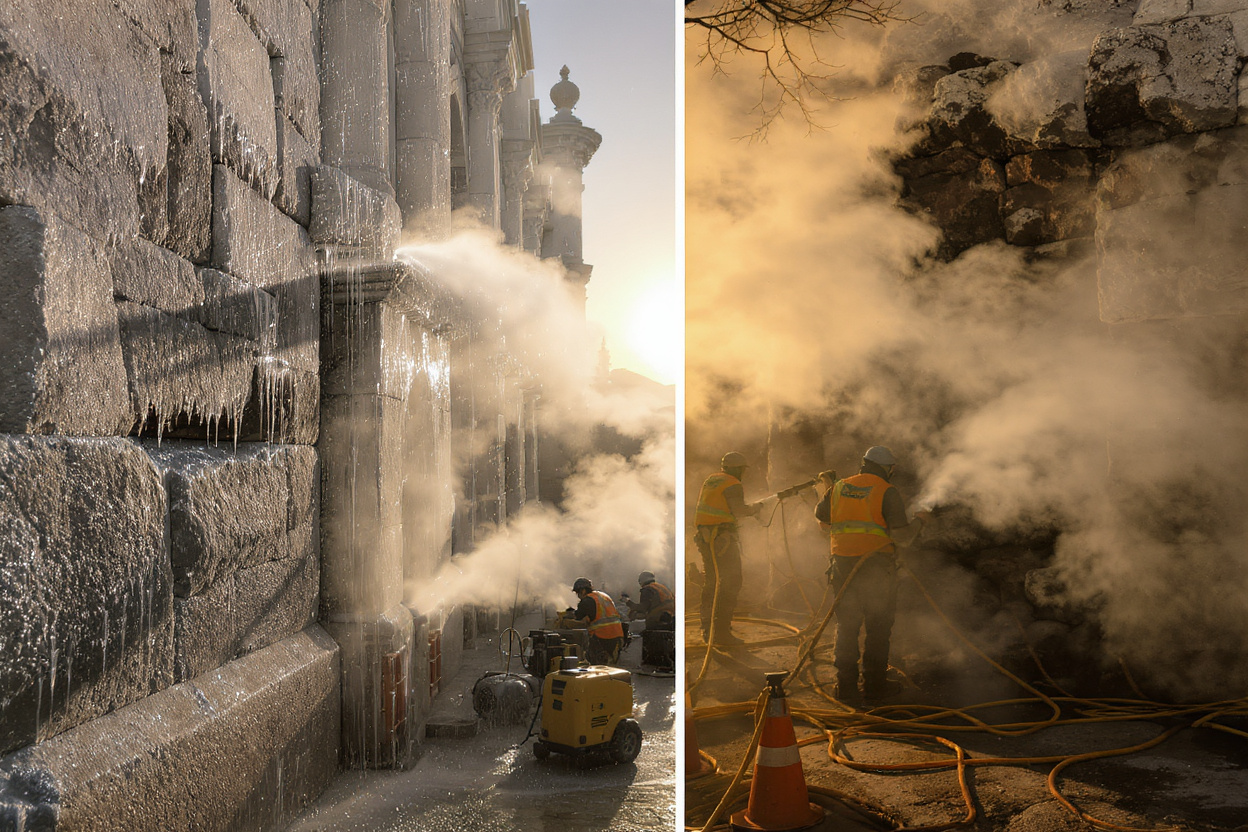
The Gentlest Method First Hierarchy
Progressive cleaning methods should always start with the least invasive techniques, then escalate only when gentler approaches prove insufficient. This gentle masonry cleaning philosophy protects irreplaceable historic materials while still achieving acceptable results. You can think of it as the “be kind, then be firm” approach to building maintenance.
The gentlest method first hierarchy protects historic materials by escalating cleaning intensity only when necessary.
Water-Based Cleaning Techniques
Low-pressure rinsing (80 to 100 PSI maximum) removes loose dirt and biological growth.
Soaking methods allow water to soften stubborn deposits gradually.
Steam cleaning at low pressure (under 150 PSI) dissolves many organic stains.
Hot water washing increases cleaning effectiveness without chemicals.
Low-Pressure Steam Methods
Steam cleaning offers excellent results for organic stains, biological growth, and many pollutant deposits. However, operators must maintain low pressure to avoid driving moisture into mortar joints. Steam temperature should remain below 200°F to prevent thermal shock in historic materials, because even centuries-old brick does not tolerate sudden temperature changes.
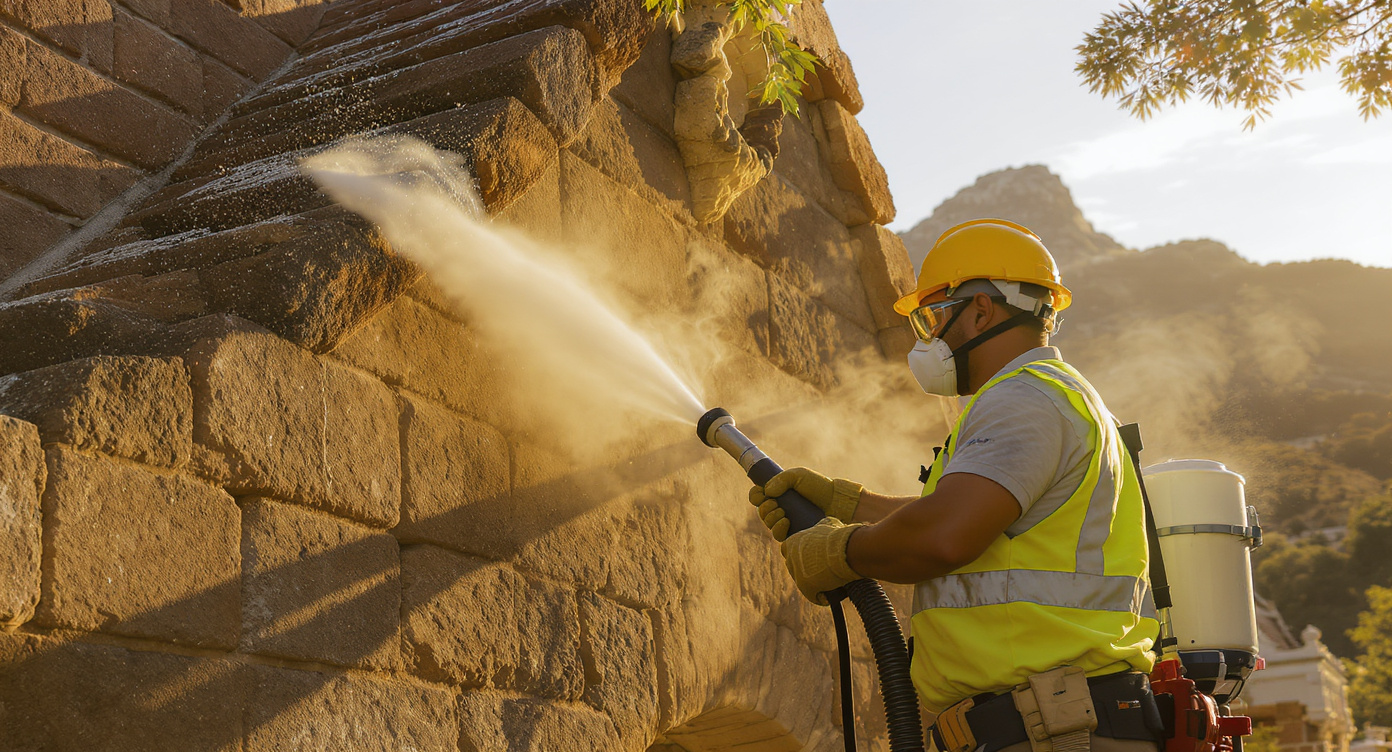
Micro-Abrasive Applications
When water-based methods prove insufficient, carefully controlled micro-abrasive techniques may be necessary. These non-abrasive methods in practice use softer media and very low pressures. They require expert application to avoid permanent surface damage. Operators must use appropriate media like crushed walnut shells or baking soda rather than aggressive silica sand. In short, even the cleaning media gets the gentle treatment.
When to Progress Between Methods
Progress to more invasive techniques only after thoroughly testing gentler methods and documenting their results. You should compare test areas under different lighting conditions and after they dry fully. If results remain unsatisfactory, then consult conservation specialists before attempting more aggressive cleaning on architecturally significant elements. Some details are simply too precious to risk.
Chemical Cleaning: Precision Without Destruction
Chemical masonry cleaning offers precision targeting of specific contaminants while minimizing impact on historic materials. However, improper chemical selection or application can cause irreversible damage faster than you can say “oops”.
Chemical Type
Best Applications
Safety Precautions
Material Compatibility
pH-neutral cleaners
General soiling, organic stains
Standard PPE required
Safe for most historic materials
Alkaline solutions
Paint removal, heavy soiling
Respiratory protection essential
Avoid on limestone and marble
Acidic cleaners
Mineral deposits, efflorescence, salts
Full protective equipment
Never use on calcareous stones such as marble
pH-Neutral Cleaning Solutions
Neutral pH cleaners provide effective cleaning without chemical reactions that can damage historic materials. These solutions work particularly well for routine heritage building maintenance and general soil removal. In many cases they are the diplomatic solution in the world of conservation chemistry.
Poultice Techniques for Deep Contamination
Poultice cleaning has experienced renewed interest among conservation professionals for its precision and control. These applications draw deep-seated contaminants and salts from masonry pores while minimizing chemical contact with surrounding areas. Poultices allow extended contact time for stubborn stains without continuous chemical exposure, much like a face mask for buildings.
Chemical Compatibility Testing
Always test chemical cleaners on small, inconspicuous areas before full application. Then allow test areas to weather for several weeks to observe any delayed reactions such as color change, surface powdering, or crystallized salts. Document all chemical applications, including product names, dilutions, and dwell times, for future maintenance reference. Future conservators will thank you for keeping proper records.
Mechanical Methods: When and How to Use Them Safely
Mechanical masonry cleaning requires extreme caution because inappropriate techniques cause immediate, irreversible damage. Therefore, these methods should only be used by experienced professionals with proper masonry cleaning equipment. This is not a DIY weekend project.
Soft Bristle Techniques
Natural bristle brushes provide gentle mechanical action for loosening surface deposits from brickwork and stonework. You should avoid wire brushes or aggressive scrubbing that can scratch historic surfaces. Always combine brushing with water to prevent dust generation and to minimize friction damage. In other words, hydration is key even for cleaning.
Controlled Abrasive Methods
Never use sandblasting or high-pressure abrasive techniques on historic masonry. If abrasive cleaning becomes truly necessary, use low-pressure systems (under 80 PSI) with soft media like crushed walnut shells or baking soda. Maintain significant distance from surfaces to prevent cutting action and test frequently. Because historic masonry deserves personal space, operators must constantly monitor the surface for early signs of damage.
Equipment Selection and Settings
Professional equipment must include reliable pressure regulation and precise media control systems. Operators require specialized training in controlled abrasion techniques and in the behavior of historic materials. In addition, you should always use appropriate containment systems to protect surrounding areas and to meet environmental regulations. Nobody wants flying debris, clogged drains, or angry environmental inspectors.
Specialized Cleaning for Different Masonry Types
Different heritage masonry types require specific approaches because their composition and aging characteristics vary significantly. Understanding these differences prevents damage and ensures appropriate cleaning results. It is a bit like knowing that silk and denim require completely different laundry methods.
Historic Brick Cleaning Protocols
Historic bricks, particularly those found in Cape Winelands heritage buildings, often have softer faces than modern materials. Water-based cleaning methods usually work best, while chemical applications require careful pH control. Many colonial-era bricks contain lime mortars that dissolve in acidic solutions, which turns into a chemistry lesson with expensive consequences if ignored. Therefore, always carry out thorough test patches on brickwork before cleaning whole elevations.
Natural Stone Preservation Methods
Stone conservation demands a clear understanding of specific mineral composition and weathering patterns. For example, sandstone requires gentler treatment than granite, while limestone and marble react dangerously with acidic cleaners. Natural stone often develops protective weathering crusts that should be preserved rather than removed. Mother Nature often knows what she is doing, so your historic masonry cleaning approach should respect that natural patina and crust.
Mixed Masonry Challenges
Buildings that combine different masonry types present complex cleaning challenges because each material may require different approaches. Restoration specialists must develop comprehensive cleaning strategies that address multiple material types without compromising any component. This often involves zoning the facade by material and adjusting methods and dwell times for each zone. It is like conducting an orchestra where every instrument needs different care.
Understanding Patina: What to Preserve vs. Remove
Here is the sophisticated bit: effective preservation cleaning recognizes that not all discoloration represents damage that requires removal. Natural patina often provides protection, while harmful deposits actively cause deterioration. It is the difference between a dignified, age-earned surface and a genuinely dirty one that threatens the building.
Identifying Protective Natural Patina
Protective patina usually appears as a thin, even film or mellow color change on masonry surfaces. It follows the stone or brick texture rather than sitting on top as a flaky layer. In many historic buildings, this patina seals microscopic pores, reduces water absorption, and softens visual contrasts in the facade. Removing it during historic masonry cleaning can expose raw, more absorbent surfaces and actually shorten the life of the masonry.
Harmful Deposits That Must Go
In contrast, harmful deposits tend to be thicker, uneven, and sometimes greasy or crusty. Black crusts from pollution, heavy organic growth, and crystallized salts that push flakes off the surface all signal active deterioration. These deposits trap moisture, concentrate pollutants, and interfere with how the wall breathes. Because they drive decay, they should be carefully removed using non-abrasive methods that protect the underlying material.
The Economics of Over-Cleaning
Over-cleaning is not only a technical mistake, it is also a financial one. Every millimeter of historic surface that is removed reduces heritage value and may require expensive future repairs. Furthermore, aggressively cleaned masonry often weathers faster, which accelerates maintenance cycles and increases lifetime costs. When you weigh appearance against long-term performance, a slightly weathered but stable facade usually offers the best economic and conservation outcome.
After a successful historic masonry cleaning project, many owners immediately ask about sealers or waterproof coatings. Modern building culture often assumes that bare masonry must be sealed to survive. In reality, most historic walls were designed to manage moisture through breathability rather than through surface coatings.
When Water-Repellents Are Actually Needed
Water repellent treatments have a place, but only in specific, well-diagnosed situations. They may be appropriate where wind-driven rain consistently strikes a vulnerable facade, where detailing cannot be improved, and where mortar and flashings are already in excellent condition. Even then, only vapor-permeable, breathable products that have been tested on the specific masonry type should be considered. A test area under real weather exposure is essential before any full application.
The Survival Without Coatings Reality
Historic buildings have survived for centuries without modern coatings, which proves that water shedding, good detailing, and sound mortar joints are usually enough. Often, problems blamed on the lack of sealers are actually due to blocked gutters, failed flashings, or hard, cement-rich mortars that trap moisture. Because of this, you should always address these root causes first. A coating that locks moisture inside a wall can be far more damaging than rain on a well-detailed, breathable facade.
Alternative Protection Strategies
Instead of reaching first for water repellents, consider less risky protection strategies. Improving roof drainage, repairing mortar joints with compatible lime mortars, reinstating drip edges and cappings, and managing ground levels all reduce moisture loads naturally. Regular inspections after cleaning can also catch minor issues before they grow. These strategies respect how historic masonry works and help preserve both its appearance and its performance.
Safety Protocols and Professional Standards
Historic masonry cleaning does not only involve protecting the building, it also involves protecting people and the environment. Many traditional coatings, deposits, and cleaning products contain hazardous substances. Therefore, robust safety protocols and clear professional standards are essential on every project.
Personal Protective Equipment Requirements
All workers involved in cleaning must use appropriate personal protective equipment. This usually includes gloves, eye protection, and respiratory protection when handling chemicals or working around dust and biological growth. For stronger alkalis or acids, full face protection, chemical-resistant clothing, and safety boots are necessary. Training staff to understand product data sheets and emergency procedures is just as important as providing the equipment itself.
Site Protection and Public Safety
Historic buildings often sit in busy urban centers or public spaces. Because of this, safe access, barriers, and clear signage are critical. You should protect windows, metalwork, and adjacent finishes from splashes, and ensure that run-off from cleaning is collected or filtered before it reaches drains. In addition, scheduling noisy or dusty work for off-peak times can reduce disruption to neighbors and building users.
Regulatory Compliance Considerations
Professional teams must also comply with local building, health and safety, and environmental regulations. This may involve permits for scaffolding, rules on waste disposal, and controls on chemical use near watercourses. Membership in recognized professional masonry restoration associations can help ensure adherence to best practice and up-to-date standards. Ultimately, following these frameworks supports both legal compliance and higher quality outcomes.
Preserving Heritage Through Informed Cleaning
Historic masonry cleaning is as much about judgment as it is about technique. When you start with careful assessment, respect the gentlest method first hierarchy, and understand the role of patina, you protect both the structure and its story. Thoughtful use of water, chemicals, and mechanical methods can remove harmful deposits while leaving historic fabric intact.
In many cases, the most successful projects are the ones where the building still looks comfortably historic, just healthier and more legible. If you are responsible for a heritage property and feel unsure where to begin, consider consulting experienced conservation professionals who specialize in historic masonry. With the right guidance and techniques, you can clean and care for your building in a way that preserves its character for future generations.
~JDV Construction
 Professional heritage masonry cleaning requires specialized techniques that preserve historic character while removing harmful deposits.